This article is part of the Home Assistant Guide – the curated learning path for your smart home.
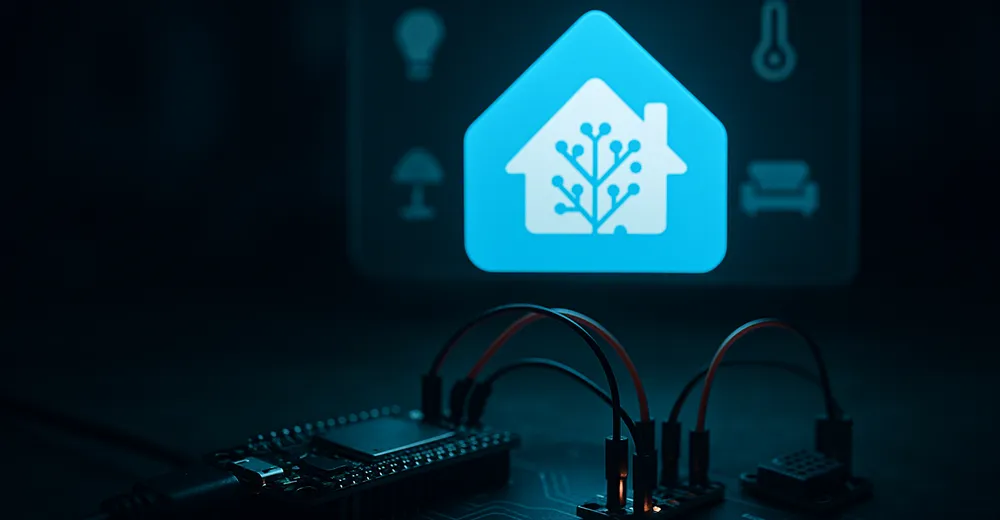
In the last part the sensors still came “from the shelf”. Now we build one ourselves: with a cheap ESP32 and ESPHome you get a full, purely local sensor in Home Assistant – no cloud, and without writing any C++.
What is ESPHome?
ESPHome is a system that builds ready firmware for ESP32/ESP8266 from a YAML configuration. You describe which sensors and actuators are attached to the board – ESPHome compiles the firmware and keeps it up to date over the air. The Home Assistant integration is native: once flashed, the device shows up automatically with all its entities.
What you need
- An ESP32 board (ESP8266 works too).
- A USB cable (data, not charge-only!) for the first flash.
- A running Home Assistant.
- Optionally a sensor, e.g. a DHT22 for temperature and humidity.
If you don't have a board yet: an ESP32 NodeMCU is the no-fuss choice for getting started and costs almost nothing – it's what I use for my ESPHome sensors too:
Ad · Affiliate link – if you buy through it, I may earn a commission. It doesn’t change the price for you.

Installation: the ESPHome add-on
Under Home Assistant OS it's easiest: Settings → Add-ons → Add-on Store, install “ESPHome Device Builder” there and start it. (This is exactly one of the reasons I recommend HA OS to beginners.) Without the add-on store, ESPHome alternatively runs as its own Docker container.
Create your first device
- Open ESPHome → New Device.
- Give it a name (e.g.
living-room-sensor), store your Wi-Fi credentials – ESPHome saves them as secrets. - Pick the board type (ESP32).
- ESPHome creates a base configuration that you extend freely.
Minimal configuration
Here's a complete configuration with a DHT22 sensor on GPIO4:
esphome:
  name: living-room-sensor

esp32:
  board: esp32dev

wifi:
  ssid: !secret wifi_ssid
  password: !secret wifi_password

api:
  encryption:
    key: !secret api_key

ota:
  - platform: esphome

logger:

sensor:
  - platform: dht
    pin: GPIO4
    temperature:
      name: "Living Room Temperature"
    humidity:
      name: "Living Room Humidity"
    update_interval: 60s
The wifi, api and ota blocks are the standard scaffolding: network, encrypted connection to Home Assistant and over-the-air updates. The sensor block does the actual work – each name later becomes its own entity in Home Assistant.
Flashing and into Home Assistant
The first flash goes via USB: plug in the board, in ESPHome click Install → Plug into this computer. After that every further update runs wirelessly over OTA – the board can stay in the cupboard. Once the firmware runs, Home Assistant reports the new device automatically (“Settings → Devices & Services”) and you just confirm.
What I left out
- Substitutions & packages – to reuse configuration across several boards.
- Deep sleep – important for battery operation, but a topic of its own.
- Displays/actuators – here it was only about the first sensor.
Conclusion & outlook
With a few lines of YAML a 5-euro board becomes a local, OTA-updatable sensor in Home Assistant. From here two paths lead onward: a real project with a display and a particulate matter sensor (PMS5003T with ESP32 and ESPHome) and the pro level, where the firmware is built and rolled out automatically via CI (GitLab CI for ESPHome).
Ad · Affiliate link – if you buy through it, I may earn a commission. It doesn’t change the price for you.