This article is part of the Home Assistant Guide – the curated learning path for your smart home.
Once the basics are clear – entities, states, domains – your first automation is no mystery. Every automation in Home Assistant consists of exactly three parts, and once you understand them you can build any automation yourself.
The three parts of every automation
- Trigger: What starts the automation? A change of an entity state, a time, a button press.
- Condition: Optional – must additionally be true for things to continue (e.g. “only after sunset”).
- Action: What should happen – a service call like
light.turn_on.
The trigger fires, the condition filters, the action acts. Conditions are optional – many simple automations work without one.
In the UI editor: step by step
- Go to Settings → Automations & Scenes → Create Automation.
- Choose New Automation (start empty).
- Under Triggers add a trigger, e.g. type “Entity → State”.
- Optionally add a Condition.
- Under Actions pick a service (e.g. “Light turn on”) and set the target entity.
- Save, name it – done.
The editor writes YAML in the background. You can see the plain text any time via the three-dot menu → “Edit in YAML” – and that's what helps you understand it.
Example: light on motion after sunset
A classic starting point: motion in the hallway turns on the light – but only when it's dark outside. As YAML it looks like this:
alias: Light on motion after sunset
trigger:
  - platform: state
    entity_id: binary_sensor.hallway_motion
    to: "on"
condition:
  - condition: sun
    after: sunset
action:
  - service: light.turn_on
    target:
      entity_id: light.hallway
mode: single
Line by line: the trigger fires when the motion sensor switches to on. The condition only lets it through once the sun has set. The action calls light.turn_on for the hallway lamp. mode: single means: if the automation is already running, another trigger is ignored until it finishes.
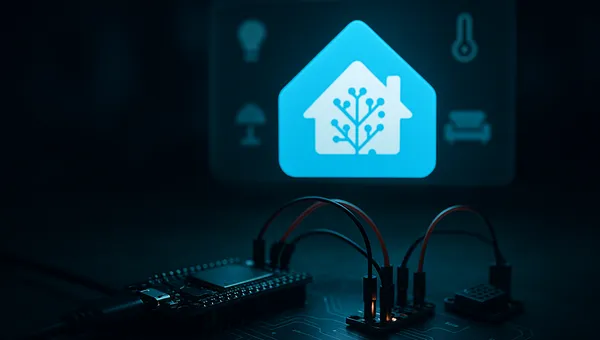
For anything to trigger, you need sensors. A cheap ESP32 with ESPHome gives you motion, temperature or contacts as trigger entities – ideal for experimenting:
Ad · Affiliate link – if you buy through it, I may earn a commission. It doesn’t change the price for you.

One step further
Once the basic pattern clicks, automations quickly become useful. A more realistic example with a threshold and hysteresis (fan on/off depending on particulate matter) is described in detail here: Automatic ventilation by PM2.5.
What I left out
- Modes (restart, queued, parallel) – important for frequently firing triggers, but
singleis right for the start. - Templates & scripts – for dynamic values and reusable sequences; a topic for later.
Conclusion & outlook
Trigger, condition, action – at its core an automation is no more than that. With the UI editor you assemble it, with a look at the YAML you truly understand it. So far the sensors came “from the shelf”; in the next article we build one ourselves: a first sensor on the ESP32 with ESPHome.
Ad · Affiliate link – if you buy through it, I may earn a commission. It doesn’t change the price for you.