This article is part of the Home Assistant Guide – the curated learning path for your smart home.
Why CI/CD for ESPHome at all?
ESPHome configs are code. And code that runs in production – in my case my configs control heating, ventilation, particulate-matter sensors and a few other things I want to rely on – belongs in a proper pipeline. Yet for most people everyday life looks like this:
- Adjust the config in the editor
- Run
esphome run device.yamllocally - Wait for the build to finish
- Hope the OTA update works
- With several devices, do it all manually one after another
That works – until you have 15 devices, until the config lives in a Git repo you also want to work on from other machines, or until you miss a breaking change in ESPHome and half your apartment goes silent.
With a GitLab CI pipeline this can be cleanly automated: every push validates all configs, builds the firmware images, and on main the updates are rolled out via OTA. In this article I show my current setup – deliberately pragmatic, not over-engineered.
Ad · Affiliate link – if you buy through it, I may earn a commission. It doesn’t change the price for you.

The repo layout
My ESPHome configs all live in a monorepo:
esphome-configs/
├── devices/
│   ├── particulate_matter_living_room.yaml
│   ├── heating_basement.yaml
│   ├── ventilation_bathroom.yaml
│   └── ...
├── common/
│   ├── base.yaml
│   ├── wifi.yaml
│   └── ota.yaml
├── secrets.yaml.example
├── .gitlab-ci.yml
└── README.md
The common/ snippets are pulled into the device configs via <<: !include. That way Wi-Fi credentials, OTA passwords and base settings only need to be maintained in one place.
The real secrets.yaml does not end up in the Git repo (.gitignore); it's generated in CI from GitLab variables.
The GitLab CI pipeline
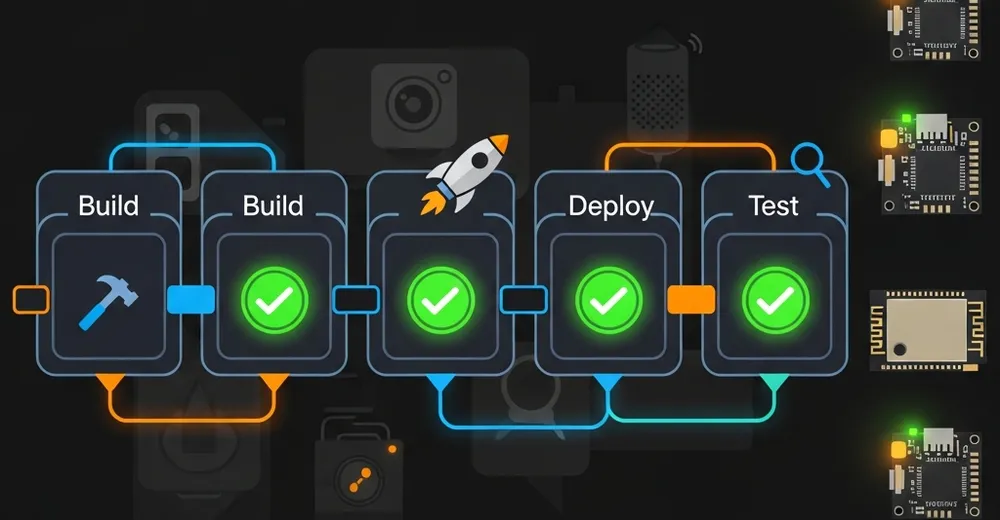
The pipeline has three stages:
- validate – every device config is checked (esphome config)
- build – the firmware is actually compiled (matrix build per device)
- deploy – OTA update to the real devices (only on main)
Here's the complete .gitlab-ci.yml:
stages:
  - validate
  - build
  - deploy

default:
  image: ghcr.io/esphome/esphome:2025.10.0
  before_script:
    - echo "$ESPHOME_SECRETS" > secrets.yaml

.device_matrix: &device_matrix
  parallel:
    matrix:
      - DEVICE:
          - particulate_matter_living_room
          - heating_basement
          - ventilation_bathroom

validate:
  stage: validate
  <<: *device_matrix
  script:
    - esphome config devices/${DEVICE}.yaml

build:
  stage: build
  <<: *device_matrix
  script:
    - esphome compile devices/${DEVICE}.yaml
  artifacts:
    paths:
      - .esphome/build/${DEVICE}/.pioenvs/${DEVICE}/firmware.bin
    expire_in: 1 week

deploy:
  stage: deploy
  <<: *device_matrix
  script:
    - esphome upload devices/${DEVICE}.yaml --device ${DEVICE}.local
  rules:
    - if: $CI_COMMIT_BRANCH == "main"
  when: manual
A few things I learned along the way:
Passing secrets cleanly
In GitLab under Settings → CI/CD → Variables, create a variable named ESPHOME_SECRETS, type File, masked and protected – depending on your branch setup. Its content is the full YAML of secrets.yaml:
wifi_ssid: "MyWiFi"
wifi_password: "supersecret"
ota_password: "also_secret"
api_encryption_key: "base64stuffhere..."
The before_script hook writes the file inside the job container. Clean separation, no credentials in the repo.
Matrix builds instead of endless jobs
The parallel:matrix trick is worth its weight in gold. Instead of defining a separate job per device, the whole thing runs parameterized. New device? Just add the config entry to the matrix – done.
Caching for build performance
Compiling ESPHome firmware can easily take 5–10 minutes per device the first time, because PlatformIO pulls the toolchain and all dependencies. GitLab caching speeds this up massively:
build:
  stage: build
  <<: *device_matrix
  cache:
    key: esphome-${DEVICE}
    paths:
      - .esphome/
      - ~/.platformio/
  script:
    - esphome compile devices/${DEVICE}.yaml
Second build of the same device: ~30 seconds instead of 8 minutes.
OTA deployment: important lessons learned
My deploy stage is deliberately when: manual. Why? Because a failed OTA update means, in the worst case, that I have to go down to the basement and flash the device via USB. I don't want that happening automatically on every merge to main.
My rules:
- Staging device first. I have a test ESP on my desk that the pipeline deploys to automatically. Only when that runs cleanly do I click through the production deployments manually.
- OTA needs network access. The GitLab Runner has to be able to reach the devices. In my case a self-hosted runner runs on my homelab server in the same VLAN as the smarthome devices. Cloud GitLab runners can't do this – unless you expose OTA to the outside, which is a very bad idea.
- mDNS doesn't always work in the runner. ${DEVICE}.local doesn't resolve automatically inside the Docker container. Two options: fixed IPs per device in a lookup file, or an avahi-daemon in the runner setup. I went with fixed IPs – less magic.
- Document the serial fallback. Just in case: every device README notes which GPIOs are responsible for USB flashing. It has saved me twice already.
Ad · Affiliate link – if you buy through it, I may earn a commission. It doesn’t change the price for you.

Quality gates that paid off
Beyond pure validation, I built in two more checks that catch small problems early:
Check 1: YAML lint
yamllint:
  stage: validate
  image: cytopia/yamllint:latest
  script:
    - yamllint -c .yamllint devices/ common/
Catches tab indentation, broken quoting and other YAML traps before the actual ESPHome parse.
Check 2: breaking-change detector
ESPHome has deprecations regularly. In CI I compare the current version against a .esphome-version file in the repo and fail a job if the major version has changed:
version_check:
  stage: validate
  script:
    - EXPECTED=$(cat .esphome-version)
    - ACTUAL=$(esphome version | awk '{print $2}')
    - echo "Expected $EXPECTED, got $ACTUAL"
    - test "$EXPECTED" = "$ACTUAL" || (echo "ESPHome version changed – check the changelog!" && exit 1)
  allow_failure: true
allow_failure: true, so the pipeline still runs but I get a big yellow warning. It has saved me from a broken night several times.
What I deliberately left out
There are a few things often seen in comparable setups that I don't do:
- No hardware-in-the-loop tests. Sounds nice, but it's overkill for a hobby smart home. The real validation happens on the staging device.
- No automatic rollbacks. ESPHome doesn't support dual-partition OTA with automatic fallback reliably enough to automate cleanly. If a device stops reporting back after an update, I get an alert via Home Assistant – that's enough.
- No container registry for firmware. The build artifacts live in GitLab for a week – that's enough for rollbacks.
Conclusion
The setup has been running for a few months and has paid off. The biggest win isn't the automation itself, but the confidence: when I change a config, I know the pipeline validates it against all devices before anything goes live. No more surprised "why isn't the light working anymore" moments.
If you've only run ESPHome locally via esphome run so far and your repo is already on GitLab (or GitHub with Actions, which works analogously): an afternoon of setup that pays off long term.
In the next article I'll show how I adapted the same pipeline for Tasmota devices – a bit trickier, because the build process works differently, but based on the same principle.
Ad · Affiliate link – if you buy through it, I may earn a commission. It doesn’t change the price for you.