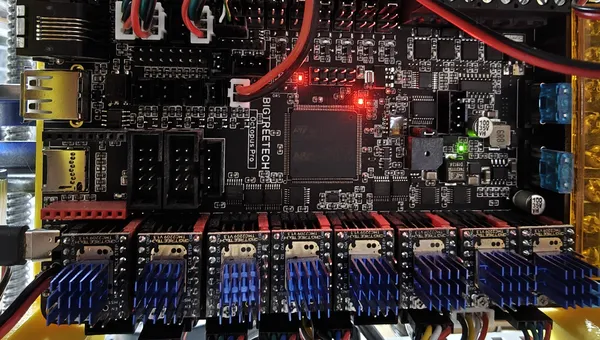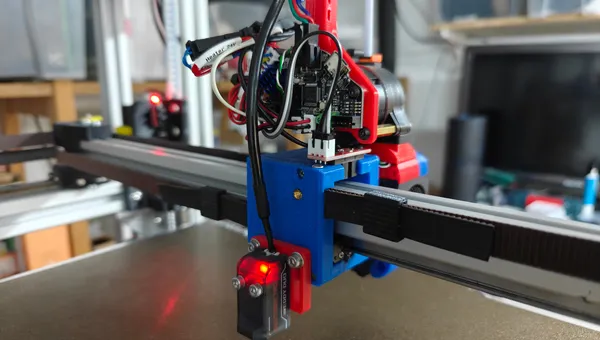
This upgrade runs on a CoreXY self-build with a Dragon Burner toolhead, an LDO Orbiter v2 (direct drive) and a BTT Octopus 1.1 (24 V). Do all hotend work only with the printer powered off. After swapping the hotend the Z offset changes – so re-measure it afterwards (see my Eddy/descend_z article).
Why high flow at all?
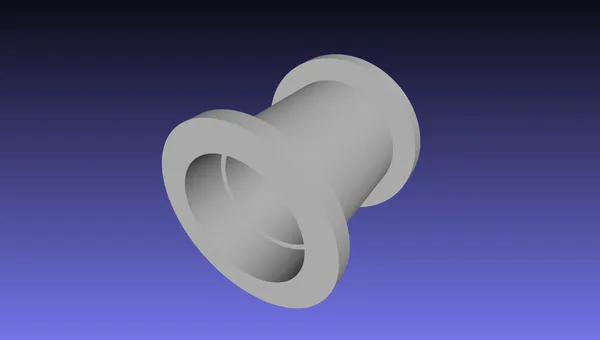
The decisive figure is volumetric flow in mm³/s – how much molten filament the nozzle can push out per second. A classic V6-style hotend sits roughly at 10–15 mm³/s before under-extrusion starts. A high-flow heat block like the Rapido 2F has a longer melt zone and manages noticeably more.
But that only helps if you actually use the flow: large nozzles (0.6/0.8 mm), high print speed, thick layers, big parts. On small detailed parts at 0.4 mm and moderate speed you'll barely notice a difference – then the upgrade is more a future investment than an instant win.
My setup
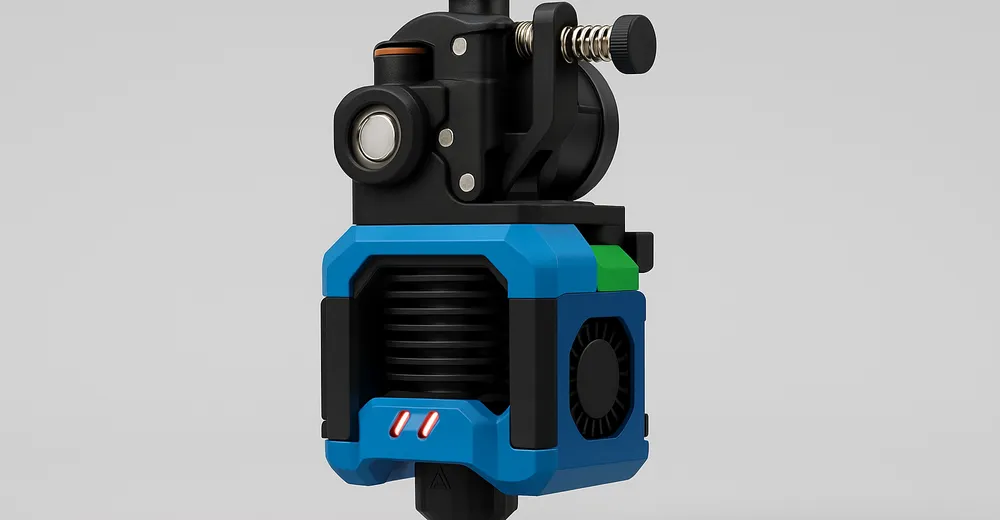
CoreXY self-build with a Dragon Burner toolhead and an LDO Orbiter v2 as a direct-drive extruder, plus a BTT Octopus 1.1 (24 V). The Dragon Burner is modular: depending on the front it takes different hotends – I run the Rapido 2F variant (high flow, PT1000, up to 300 °C). Important before buying/printing: pick the Dragon Burner front that matches your hotend, otherwise the Rapido won't seat properly.
Mounting
- Printer powered off, remove the old hotend from the Dragon Burner front (disconnect heater cartridge + sensor).
- Seat the Rapido 2F in the matching front – flat fit, correct height to the nozzle and the part-cooling fan. The Orbiter v2 sits right above it as direct drive: keep the filament path short and clean.
- Put the silicone sock on: more stable temperature, cleaner heat block.
- Align the part cooling, route the cables with strain relief – the thin PT1000 wires break over time otherwise.
Wiring the PT1000 instead of a thermistor
The biggest config difference: the Rapido uses a PT1000, not an NTC thermistor. On the Octopus you wire it to a temperature port (e.g. T0). Polarity doesn't matter – a PT1000 is just a resistor. In Klipper you set sensor_type: PT1000 and use the onboard 4.7 k pullup via pullup_resistor: 4700.
Honest note: with the 4.7 k pullup the resolution is a bit coarser at high temperatures. For everyday use that's plenty; if you want more accuracy, use the board's dedicated PT1000 pullup mod or an amplifier. The heater cartridge goes to HE0.
[extruder]
# LDO Orbiter v2 (direct drive) - calibrate the values for your build
rotation_distance: 4.7     # Orbiter v2 starting value -> fine-tune with a measure test
microsteps: 16
nozzle_diameter: 0.400
filament_diameter: 1.750
heater_pin: PA2            # HE0 on the Octopus 1.1
sensor_type: PT1000
sensor_pin: PF4            # temp port T0 on the Octopus 1.1
pullup_resistor: 4700     # uses the onboard 4.7k pullup
min_temp: 0
max_temp: 300             # Rapido 2F is rated to 300 C
max_power: 1.0
min_extrude_temp: 190
pressure_advance: 0.03    # direct drive -> small starting value, calibrate below
# control:/pid_* are written automatically by PID_CALIBRATE -> SAVE_CONFIG
PID tuning first
New hotend, new heater cartridge, new mass – so recalibrate PID before the first real print, otherwise the temperature swings. In the Klipper console:
PID_CALIBRATE HEATER=extruder TARGET=240
SAVE_CONFIG   # writes control: pid + pid_Kp/Ki/Kd into printer.cfg
Finding the real volumetric flow
Don't rely on the manufacturer's figure – your real flow depends on filament, temperature and nozzle. The simplest method via the console: extrude in fixed steps at printing temperature and listen for when the Orbiter clicks or under-extrudes.
# Hotend at printing temperature (e.g. 240 C), then:
M83                  # relative extrusion
# feedrate F[mm/min] = flow[mm^3/s] / 2.405 * 60   (1.75 mm)
G1 E50 F360          # ~15 mm^3/s  -> still clean?
G1 E50 F480          # ~20 mm^3/s  -> still clean?
G1 E50 F600          # ~25 mm^3/s  -> does it click?
# first rate that clicks/under-extrudes = the limit. Usable: ~ -10 %.
Enter the value you found in your slicer as max volumetric speed (mm³/s) – that automatically caps the speed, regardless of the speed profile. I'll add my concrete value once I've averaged across several filaments. To match, raise the limits in Klipper so long extrusions don't get throttled:
[extruder]
max_extrude_only_distance: 150
max_extrude_only_velocity: 120   # matched to the higher flow
max_extrude_cross_section: 5     # allow larger line cross-sections
Recalibrating pressure advance
Different hotend, different heat break, different melt pressure – your old pressure-advance value no longer fits. With the Orbiter v2 as direct drive the values are low anyway (roughly 0.01–0.05), unlike Bowden. The fastest way is the Klipper tuning tower:
# print a PA tower (slow + fast segment in the model):
TUNING_TOWER COMMAND=SET_PRESSURE_ADVANCE PARAMETER=ADVANCE START=0 FACTOR=.002
# read off the nicest height -> PA = height_in_mm * FACTOR
SET_PRESSURE_ADVANCE ADVANCE=0.03
# then put the best value into [extruder] pressure_advance
What I left out
- Filament-specific flow: PETG and PLA behave differently – one value for everything is pragmatism, not an optimum.
- Z offset & bed mesh: redo after the hotend swap – see my Eddy article and the firmware update.
- Input shaping: its own topic – worth it once high flow actually lets you print faster.
- The concrete mm³/s figure: comes after a proper multi-run test, instead of guessing it now.
Conclusion
The Rapido 2F is no plug-and-play miracle, but an honest win as soon as you run large nozzles or high speeds. The real effort isn't the mounting, it's the calibration: PID, volumetric flow, pressure advance. Do those three cleanly and the extra flow actually lands on the plate.
Ad · Affiliate link – if you buy through it, I may earn a commission. It doesn’t change the price for you.

Ad · Affiliate link – if you buy through it, I may earn a commission. It doesn’t change the price for you.