Why build your own X-carriage?
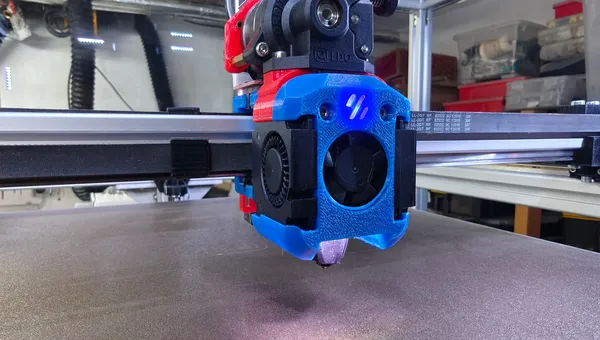
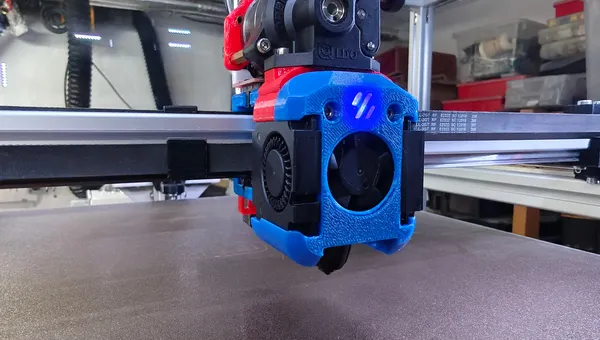
For my HevORT (CoreXY) there is no X-carriage that cleanly fits the Dragon Burner. The ready-made carriages are tuned for low weight and speed – and don't fit without stacking adapter on adapter. A stable, universal mount mattered more to me than the last gram: a stiff interface that cleanly holds the toolhead, Z probe and endstop without stacking tolerances.
My setup
- Printer: HevORT (CoreXY), X axis on MGN12H
- Toolhead: Dragon Burner + Phaetus Rapido 2 + LDO Orbiter v2.5
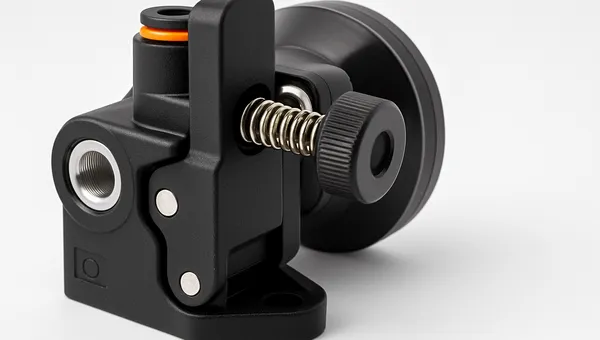
- Z probe: BTT Eddy USB, mounted at the rear via an integrated adapter plate
- X endstop: classic optical endstop, cutout on top of the carriage
- Design: FreeCAD · Material: PETG
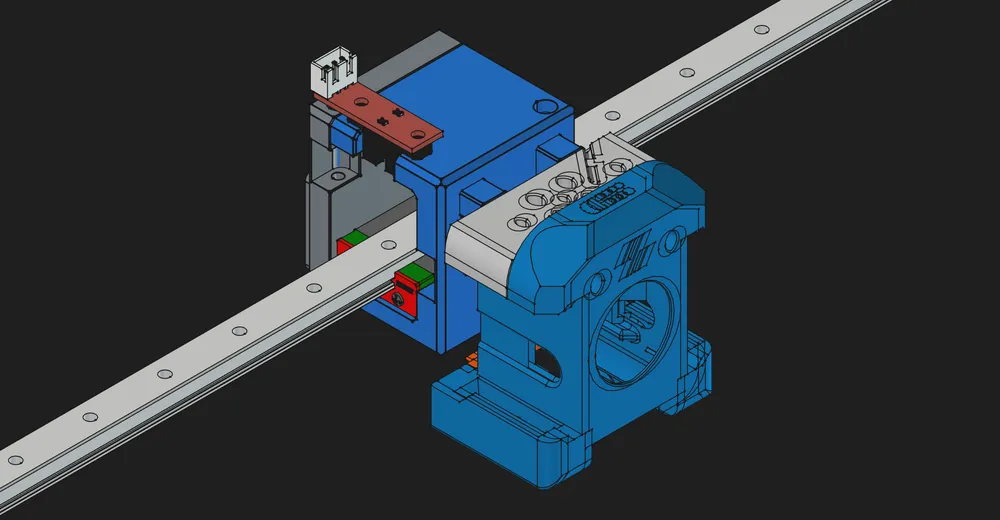
Designing it in FreeCAD
Three things mattered to me. First: material where the load is – the rail interface and the toolhead bolt pattern are solid, the rest is cut away. Second: the Eddy adapter plate is formed directly onto the back instead of being a separate part – that saves screws and a tolerance chain. Third: the endstop cutout sits on top so the flag triggers cleanly without colliding with the belt or the carriage block.
Printing & material
Printed in PETG – stiff enough, forgiving on layer bonding and uncomplicated without an enclosure. In a heated chamber ABS/ASA would be the more dimensionally stable choice, but for an X-carriage away from the direct hotend heat PETG works without issues for me. The exact slicer settings are on the model's Printables page.
BTT Eddy & X-endstop in Klipper
Eddy and endstop are wired to the mainboard or via USB – the pins are board-specific. As a starting point, the relevant section (adjust pins/serial):
[stepper_x]
endstop_pin: ^PG6          # optical X endstop (adjust pin)
position_endstop: 0
position_max: 300
homing_speed: 40

# BTT Eddy USB: its own MCU over USB serial
[mcu eddy]
serial: /dev/serial/by-id/usb-Klipper_rp2040_...-if00

[probe_eddy_current btt_eddy]
sensor_type: ldc1612
i2c_mcu: eddy
i2c_bus: i2c0f
# set z_offset & drive current only after Eddy calibration
Ad · Affiliate link – if you buy through it, I may earn a commission. It doesn’t change the price for you.

Lessons learned / what I left out
- No integrated cable channel – left out on purpose; the wires run externally in a sleeve, which keeps the part simple.
- No ADXL mount needed – I do input shaping via the toolboard (onboard accelerometer), so there's no extra sensor or adapter on the carriage.
- Heat-set inserts instead of screwing straight into the plastic – it survives repeated assembly much better.
- Eddy clearance to the nozzle checked once properly, so the probe's measuring range fits.
Conclusion & download
The carriage runs solid and takes my entire Dragon Burner stack without stacking adapters. If you run the same HevORT setup, you'll find the model here: HevORT X-Carriage for Dragon Burner (MGN12H) on Printables. I'm always happy to get feedback and remixes.
Ad · Affiliate link – if you buy through it, I may earn a commission. It doesn’t change the price for you.