This article is part of the Home Assistant Guide – the curated learning path for your smart home.
The trigger: Python 3.12 shut off my heating
For years I integrated my Bosch gas heater into Home Assistant via the community integration home-assistant-bosch-custom-component. The KM100 gateway was read over the network – flow temperature, boiler status, hot water, everything was there. Until Home Assistant 2024.2 arrived.
With the update to Python 3.12 it was over. The underlying library wasn't adapted, and the integration stopped working. No fix in sight, no active maintainer anymore. We've all been there.
Ad · Affiliate link – if you buy through it, I may earn a commission. It doesn’t change the price for you.

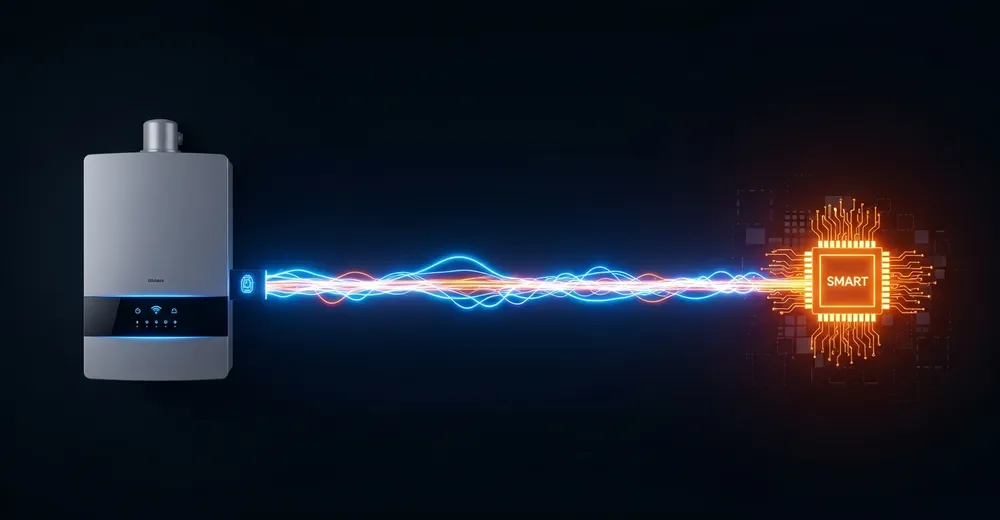
EMS-ESP – an open-source firmware for ESP32 boards that taps directly into the heater's EMS bus. The data comes into Home Assistant via MQTT, independent of Python versions or cloud gateways.
Why EMS-ESP instead of a repaired custom component?
You could of course have waited for someone to port the Bosch library to Python 3.12. But:
- EMS-ESP accesses the EMS bus directly – no cloud gateway (KM100) needed anymore, no dependency on Bosch servers.
- MQTT is rock solid. As long as the broker runs, the data flows. No Python library that can break on updates.
- Full control. I can not only read values, but also set heating curves, target temperatures and operating modes directly.
Hardware and connection
You need an EMS-ESP-compatible board – I use the one from bbqkees-electronics, built specifically for the EMS bus. It plugs into the heater's service socket via the supplied cable. Power comes directly over the bus, so no extra power supply is needed.
EMS-ESP supports Bosch, Buderus, Nefit, Junkers and a few other brands – but not every model. Check the official device list beforehand. On my Bosch gas heater it worked out of the box.
Setup and configuration
After plugging it in, the board opens its own Wi-Fi access point. You connect to it, enter your Wi-Fi credentials, and then reach the web interface via the regular IP address on your home network.
The most important setting: configure the MQTT broker. Enter the IP address and credentials of your Mosquitto broker (which for most people runs as an add-on directly in Home Assistant). As soon as that's saved, EMS-ESP immediately starts sending data.
Integration into Home Assistant
Thanks to MQTT auto-discovery, the entities appear in Home Assistant automatically – no manual YAML, no custom component. Flow temperature, boiler temperature, hot-water status, burner starts, heating curve, target temperature – all there, all controllable.
The difference from the old Bosch integration is noticeable: the values arrive faster (direct bus access instead of network polling), and I can not only read operating modes and temperatures, but set them too.
What I left out
This article is an experience report, not a complete tutorial. The following is deliberately missing:
- Firmware flashing. The bbqkees boards ship pre-flashed. If you want to use a bare ESP32, you have to flash EMS-ESP yourself – that's a topic of its own.
- Home Assistant automations. What you do with the data (night setback, frost-protection logic, notifications) is a follow-up article.
- Running in parallel with the KM100. Both can sit on the bus at the same time – I didn't test it, because I removed the KM100 directly.
Conclusion
Switching from the Bosch custom component to EMS-ESP was one of those cases where a forced change ended up being the better solution. Direct bus access instead of a cloud gateway, MQTT instead of fragile Python dependencies, full control instead of read-only. And the best part: the setup has been rock stable for over a year – not a single Home Assistant update has broken anything.
Ad · Affiliate link – if you buy through it, I may earn a commission. It doesn’t change the price for you.