This article is part of the Homelab Self-Hosting Guide – the curated learning path for your own homelab.
The problem with MicroSD cards
MicroSD cards were primarily developed for cameras and smartphones. Their purpose: storing large files (photos, videos) sequentially and occasionally. An operating system like Linux (Raspberry Pi OS) or a smart home hub like Home Assistant, however, does exactly the opposite.
Home Assistant logs hundreds of sensor values (temperature, power consumption, presence) into a SQLite database every second. These countless small, random writes (random I/O) put enormous strain on the SD card's flash memory. Without so-called "wear leveling" (which is reserved for SSD controllers), individual memory cells wear out extremely fast. Often, after just a few months, this leads to a corrupted file system and a system crash.
Ad · Affiliate link – if you buy through it, I may earn a commission. It doesn’t change the price for you.

Ad · Affiliate link – if you buy through it, I may earn a commission. It doesn’t change the price for you.

Raspberry Pi 5 and PCIe change everything
For a long time, switching to SSDs on the Raspberry Pi was clunky. You had to rely on unstable USB-to-SATA adapters that often didn't boot reliably. With the latest Raspberry Pi generation (from the Pi 5 on), that problem is a thing of the past.
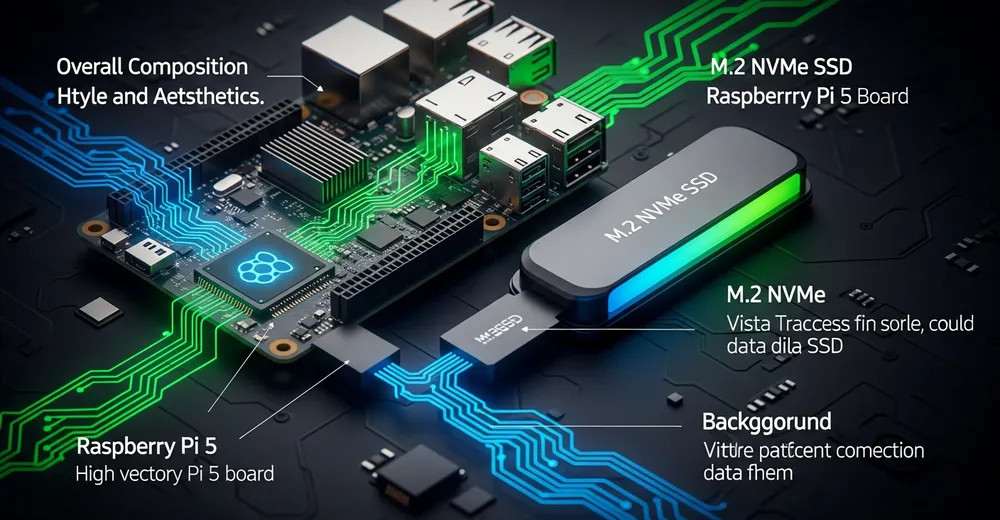
The Raspberry Pi 5 has a native PCIe 2.0 interface. Combined with an M.2 HAT (Hardware Attached on Top), a full NVMe SSD can be connected directly over the PCIe bus. The result is impressive:
- Blazing speed: Instead of max. 40 MB/s (SD card) or 300 MB/s (USB 3.0), over PCIe you reach read and write rates of more than 800 MB/s (even more with PCIe 3.0 mode enabled).
- System stability: NVMe SSDs have dedicated controllers, large caches and excellent wear leveling. Even the most intensive database operations barely dent their lifespan.
- Affordable price: Small 128 GB or 256 GB NVMe SSDs now cost barely more than a high-quality, fast SD card.
Home Assistant OS: boot from NVMe
The Home Assistant development team has long recommended SSDs (or eMMC storage) for serious installations. With the latest updates to Home Assistant OS (HAOS), booting directly from an NVMe SSD on the Raspberry Pi has become easier than ever.
You simply flash the HAOS image onto the M.2 SSD with the Raspberry Pi Imager and change the boot order in the Pi's EEPROM to "NVMe" (sudo rpi-eeprom-config --edit). After that the system boots blazingly fast, within a few seconds, completely without an SD card.
Conclusion: buy cheap, buy twice
Anyone setting up a new home server or smart home hub on a MicroSD card in 2026 is cutting corners in the wrong place. The frustration of a system that crashes in the middle of the night and the loss of a painstakingly built home automation config isn't worth the savings of maybe 15 euros.
The combination of a Raspberry Pi 5, the official M.2 HAT+ and an affordable NVMe SSD (form factor 2230 or 2242) is currently the gold standard for a robust, long-lasting and blazingly fast homelab.
Ad · Affiliate link – if you buy through it, I may earn a commission. It doesn’t change the price for you.